Editor-DateSpinLists
Description
Inserts an Editor for editing a value in a date control using SpinList controls for the day/month/year values. IMPORTANT: This control MUST be inserted inside an Editor-Set control.
Editor-DateSpinLists make it easy to select a date on a Form View control when using a mobile device. When selecting a date users can use their fingers to scroll through the days, months, and years in order to select a date. Because this is an editor, only one Editor-DateSpinLists needs to be defined in order to use it in multiple places within the UX component.
Add a Editor-DateSpinLists to update a FormView
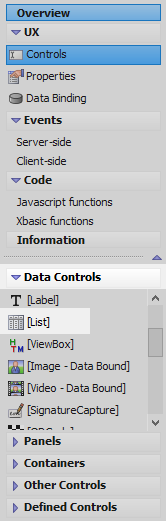
In the UX Builder on the UX Controls page open the 'Data Controls' menu. Click on the [List] option to add a list control.
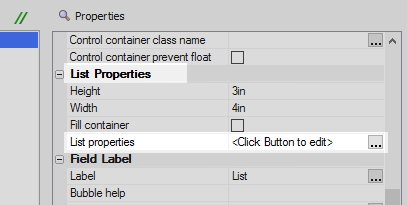
Highlight the list control in the control tree. In the properties list on the right click the [...] button next to the 'List properties' in the 'List Properties' section. The List Builder will open.
On the List Builder's 'Data Source' pane set the 'Data Source Type' to 'Static'.
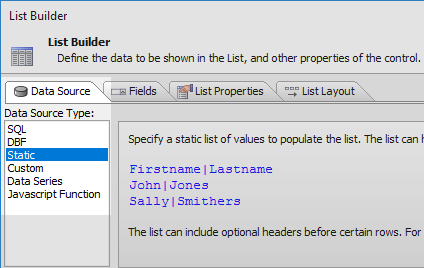
In the properties list click the [...] button next to the 'Static data' property in the 'Static Data' section.

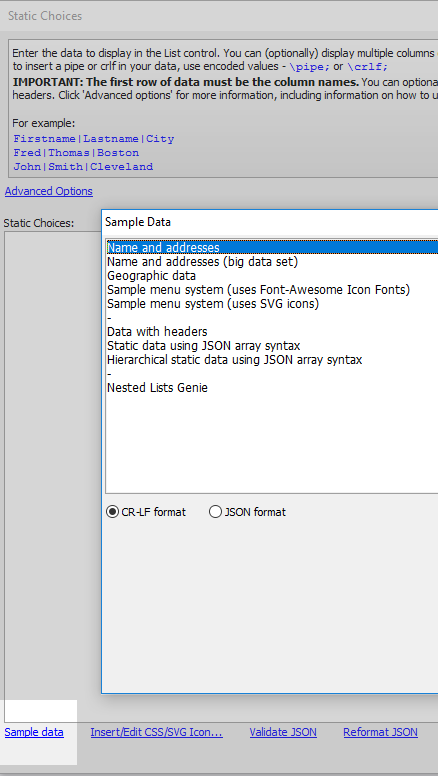
In the 'Static Choices' dialog click the 'Sample data' button. Select the 'Name and addresses' sample data set in 'CR-LF format' and click OK.
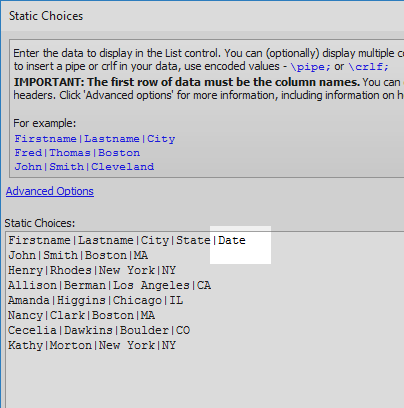
In the 'Static Choices' dialog add a pipe '|' character and a 'Date' field to the title row of the data set and click OK. The title row should look like this:
Firstname|Lastname|City|State|Date
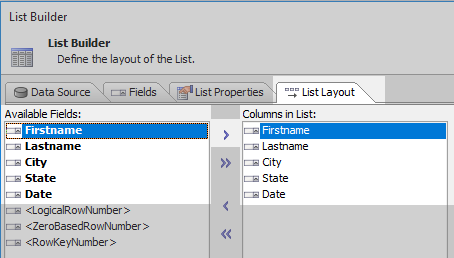
On the 'List Layout' pane use the blue > arrow to move the five data fields from the 'Available Fields' list to the 'Columns in List' section. Click OK to close the List Builder.
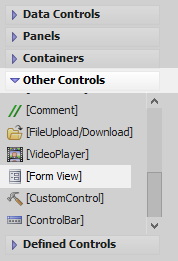
Highlight the list control in the control tree. Open the 'Other Controls' menu and select the [Form View] option to add a Form View control to the component.
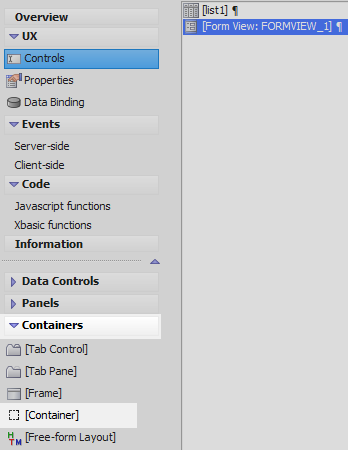
Highlight the 'Form View' control in the control tree. Open the 'Containers' menu and click on the [Container] option.
In the 'Container Type' list select the 'EditorSet' option and click 'Insert After'.

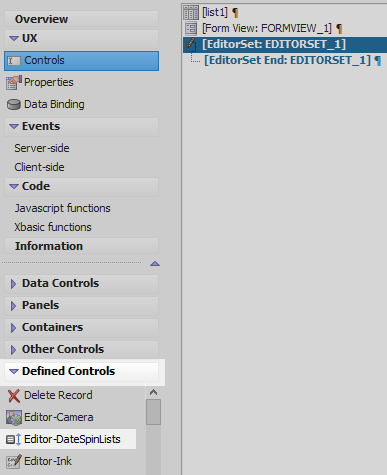
Highlight the Editor Set. Open the 'Defined Controls' menu and click on the 'Editor-DateSpinLists' option to add this editor to the editor-set.
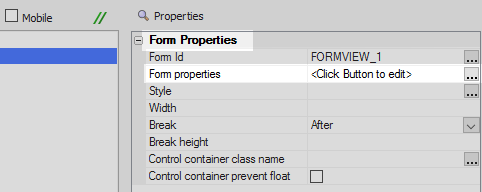
Highlight the 'Form View' control in the control tree. In the properties list on the right click the [...] button next to the 'Form properties' property. The Form View Builder will open.
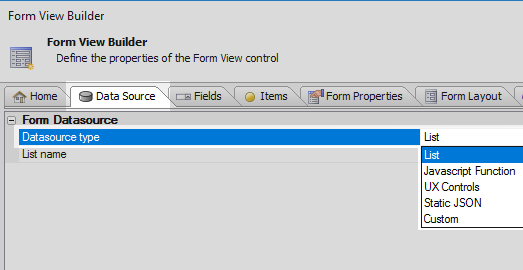
On the Form View Builder's 'Data Source' set the 'Datasource type' property to 'List'.
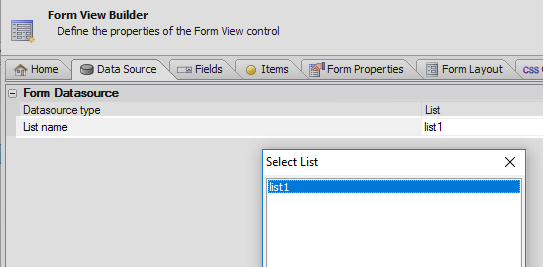
Click the [...] button next to the 'List name' property and select 'list1'.
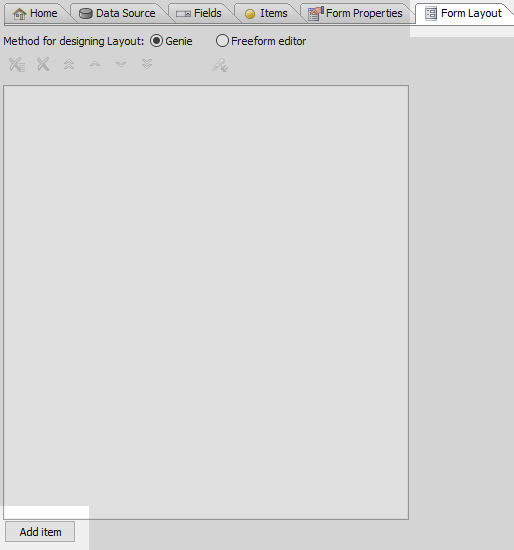
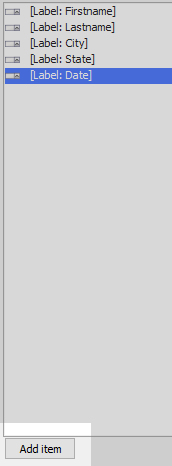
Open the 'Form Layout' pane and click the 'Add item' button.
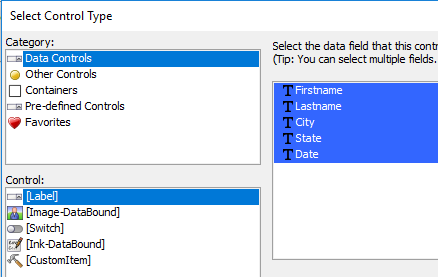
In the 'Select Control Type' dialog set the 'Category' menu to 'Data Controls'. In the 'Control' menu click on the [Label] option. Highlight all of the fields from the list on the right and click OK.
Click the 'Add item' button again.
In the 'Category' list select the 'Pre-defined Controls' option and in the 'Control' list select the [Save Form Edits/Cancel Edits Button] option. Click OK.

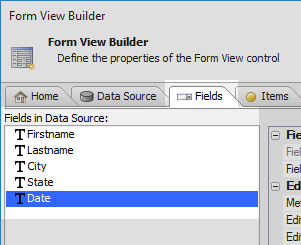
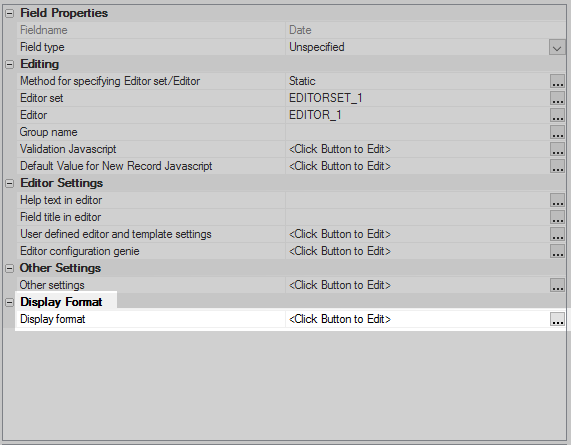
Open the 'Fields' pane and highlight the 'Date' field in the 'Fields in Data Source' list.
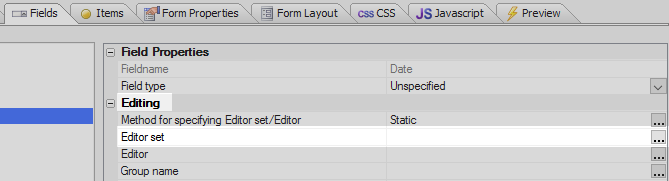
Click the [...] button next to the 'Editor set' property, in the Editing section of the 'Date' field's properties list.
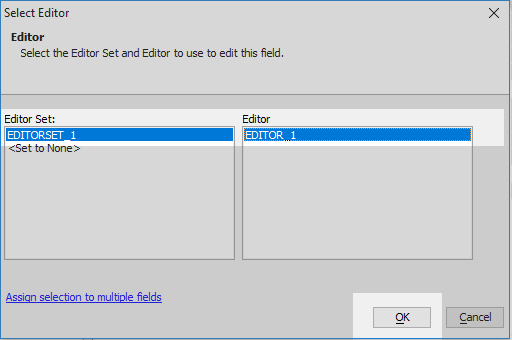
In the Select Editor dialog set the 'Editor Set' to be 'EDITORSET_1' and the 'Editor' to be 'EDITOR_1'. Click OK
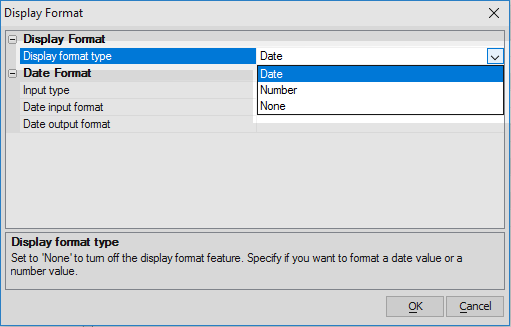
Scroll down the 'Date' field's properties to the 'Display Format' section. Click the [...] button next to the 'Display format' property.
The 'Display Format' dialog will open. Set the 'Display format type' property to be 'Date'.
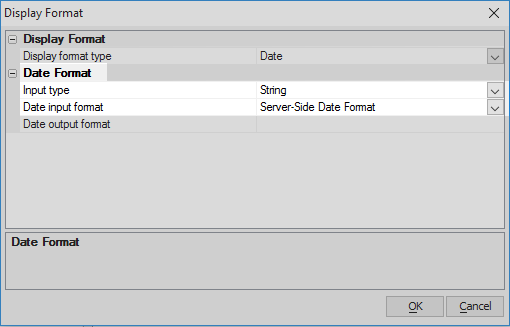
Leave the 'Input type' property as 'String' and the 'Date input format' property set to 'Server-side Date Format'.
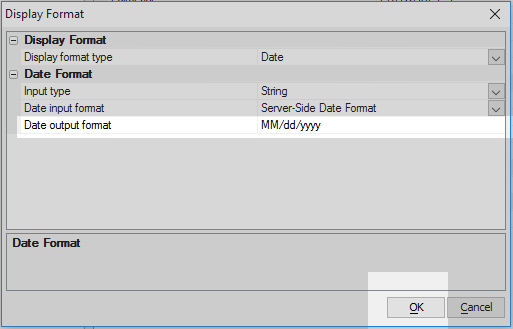
Set the 'Date output format' to be MM/dd/yyyy. Click OK.
Click OK to close the Form View Builder and run the component in Live Preview.
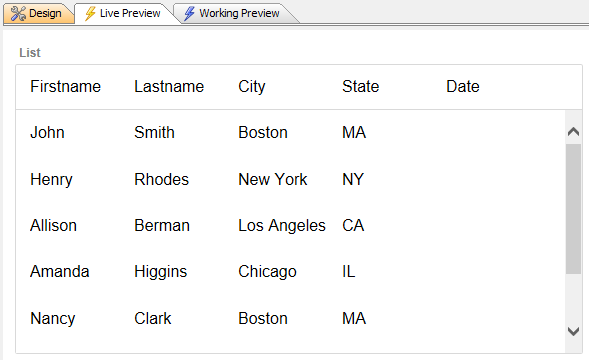
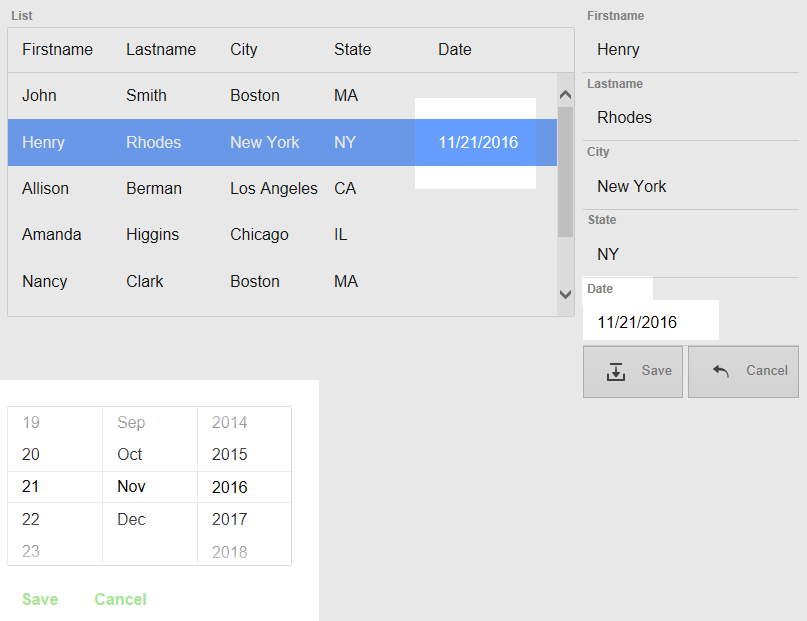
Click on a row in the list control, the formview that will allow you to edit the data should open.
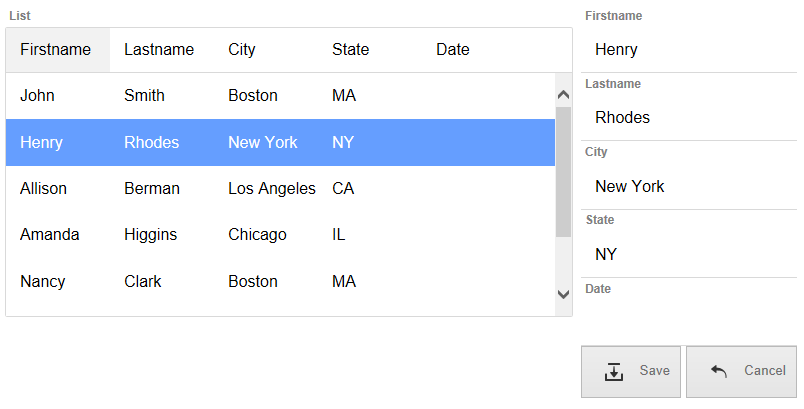
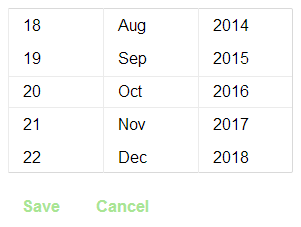
Click on the date item in the Form View control. The 'Editor-DateSpinLists' should open.
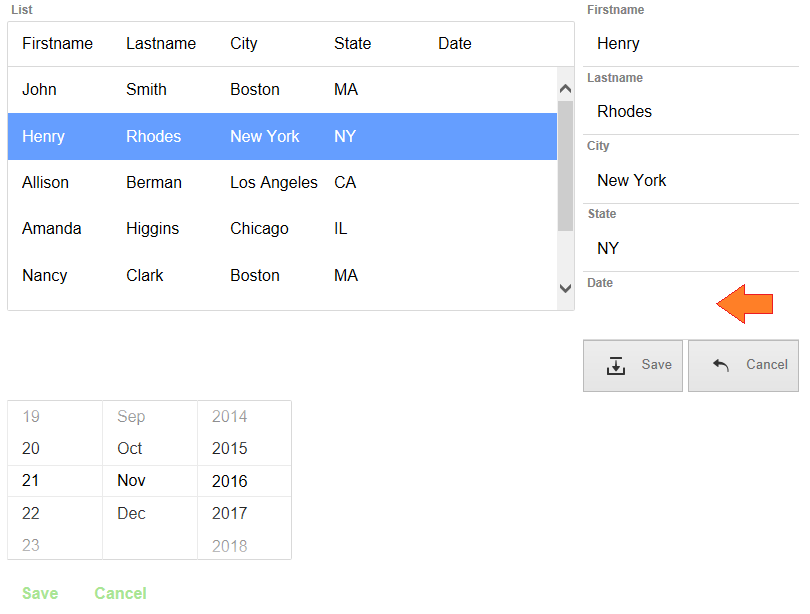
Change the date and add the change to the form view. Click save to add the change to the list.